![]()
How can we help you?
Install the JDBC Driver for LUW and DB2 on z/OS
An installed JDBC driver is required for both LUW and DB2 on z/OS to enable connectivity to the mainframe. DB2 on z/OS also requires a corresponding license file environment variable to complete the connection.
Install the Driver
- Copy the driver jar file into the appropriate folder within your Liquibase Enterprise install directory. You may use your own custom driver or the one we provide on update.liquibase.com.
- Copy the DB2 on z/OS JDBC Driver (db2jcc.jar or your_custom_driver) to the folder: <Enterprise_install_dir>/plugins
Tip: For more info about installing drivers on Windows or Linux, navigate to the documentation listed below:
Install Database Drivers on Windows Systems
Install Enterprise and Drivers on Linux Systems
Install and Setup the License File
Note: This variable is used only for DB2 on z/OS.
The db2jcc_license_cisuz.jar file is not included in the Liquibase Enterprise download, so you must install and set it up separately. You must setup an environment variable that represents the license file for DB2 and Liquibase Enterprise to communicate to each other. Follow these steps to establish the license file as an environment variable successfully.
- Obtain the license file from IBM's website.
- Set up an environment variable called
DATICAL_DB2Z_LICENSE_JARto represent the license file.
Set an Environment Variable on Linux
Set an Environment Variable on Windows - Verify that the Environment Variable is established successfully by running the following command in the CLI.
Linux:echo $DATICAL_DB2Z_LICENSE_JAR
Windows:echo %DATICAL_DB2Z_LICENSE_JAR%
Liquibase Enterprise Desktop GUI - Driver Configuration
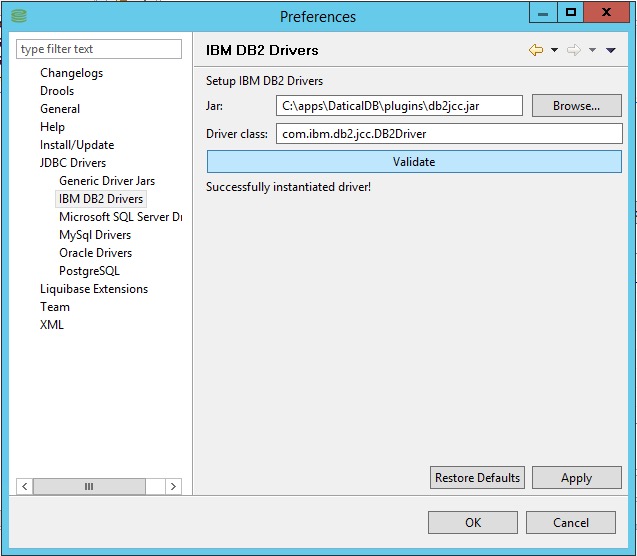
Reference the DB2 Driver in the Preferences
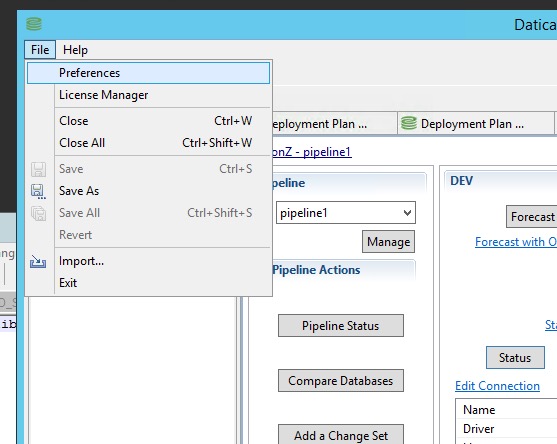
- From the menu, select File → Preferences
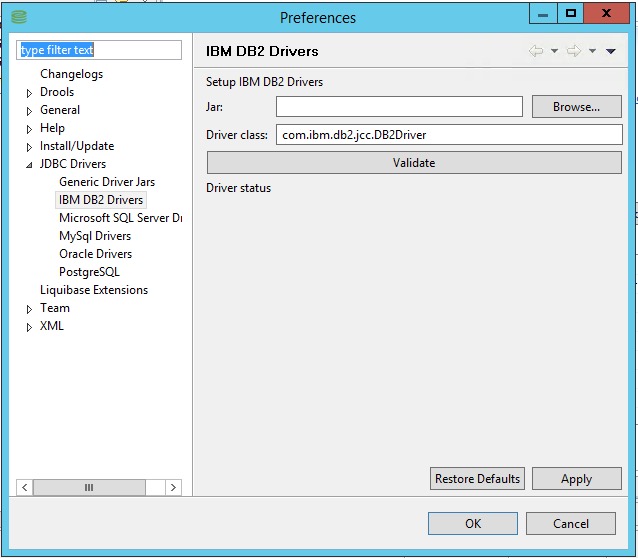
- Navigate to the JDBC Drivers → IBM DB2 Drivers preferences page.

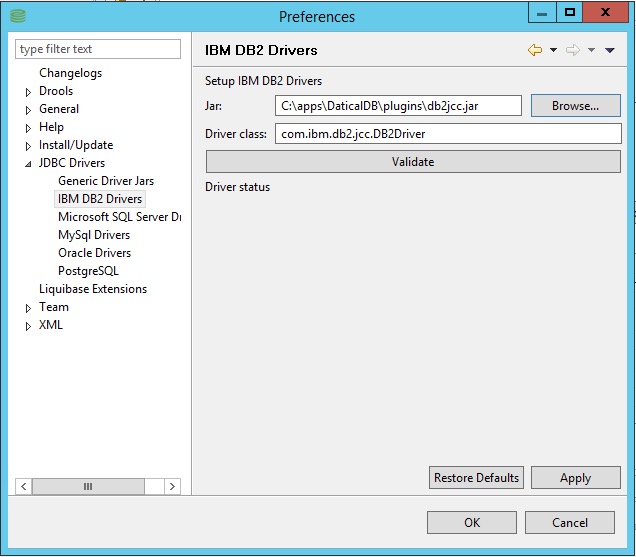
- Click the Browse button and select the JDBC jar file (db2jcc.jar or your_custom_driver) in the <Enterprise_install_dir>/plugins directory.

- Click the Validate button and ensure the "Successfully instantiated driver!" response appears.
- Click Apply.
- Click OK to close the dialog.

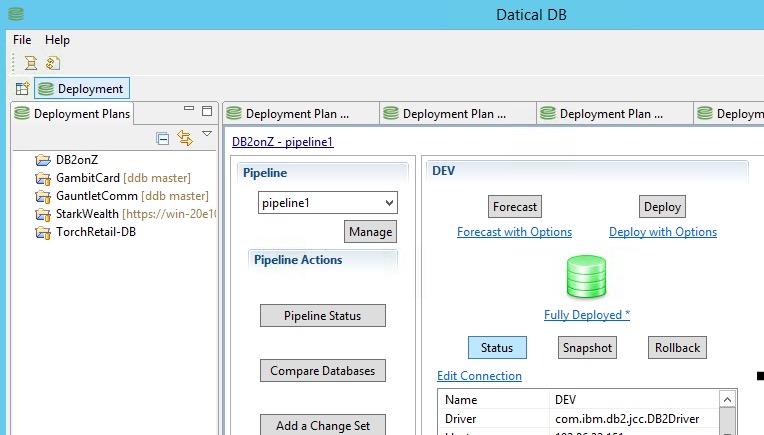
- Test the Connection
Assuming that you already have a database connection setup, click the Status button and verify that you don't get an error and that the Database Drum is Green.
Enterprise CLI - Driver Configuration
- Create an enterprise.properties file (in a Liquibase Enterprise project directory) and add the following line pointing to the directory where you added the driver file (in step #1 above)
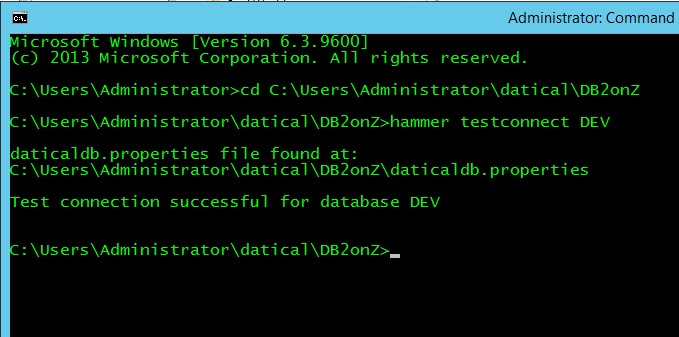
- Test the database connection via the CLI
drivers=<enterprise_install_dir>/plugins
hammer testconnect DEV